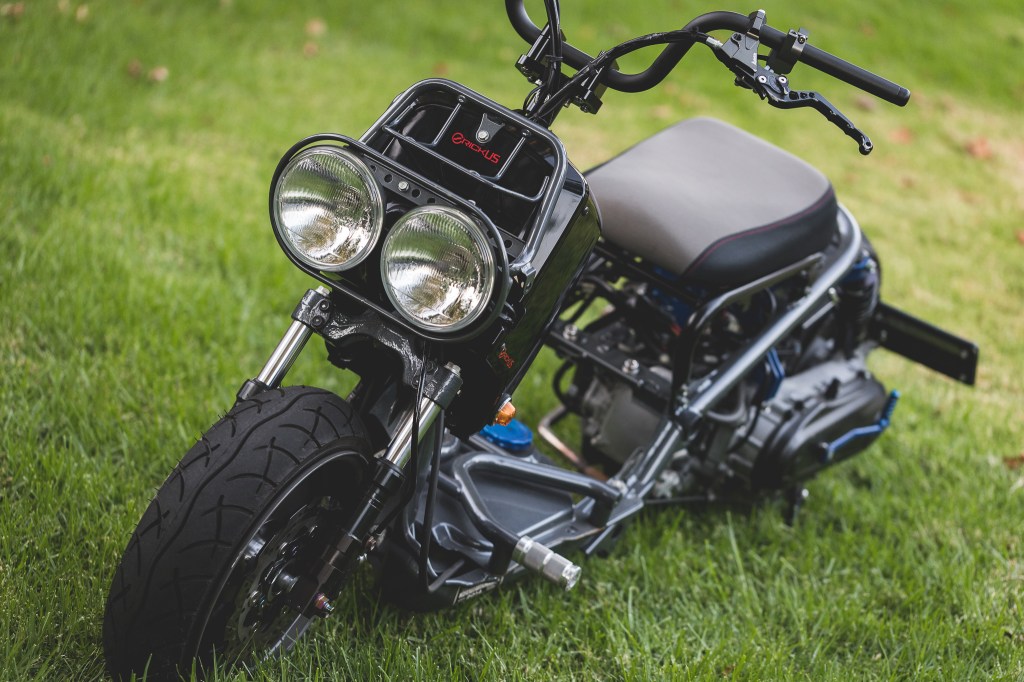
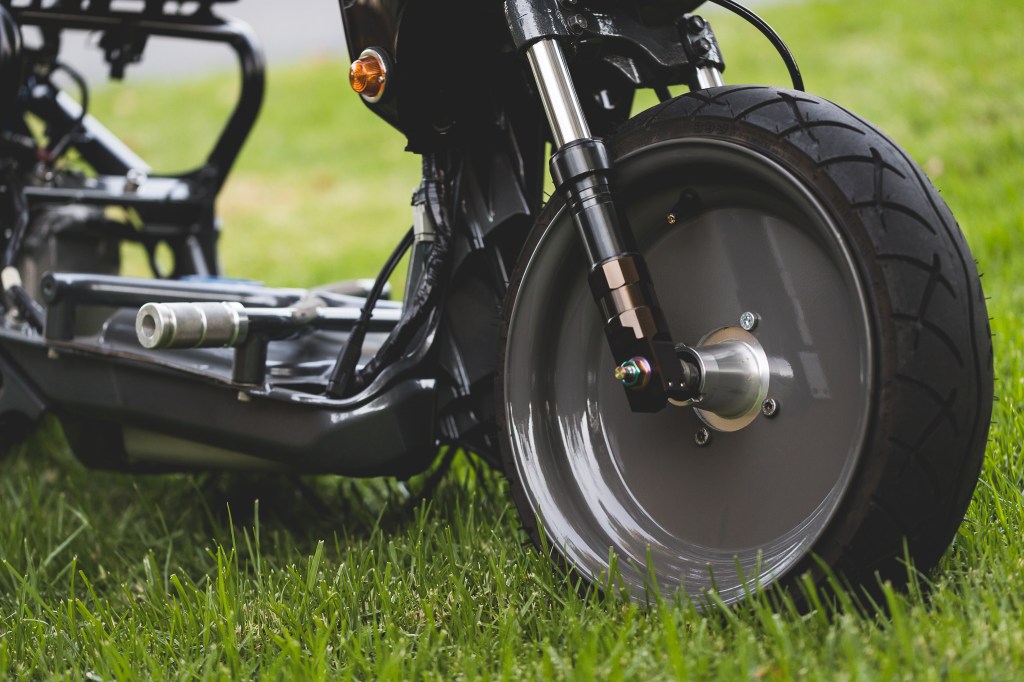
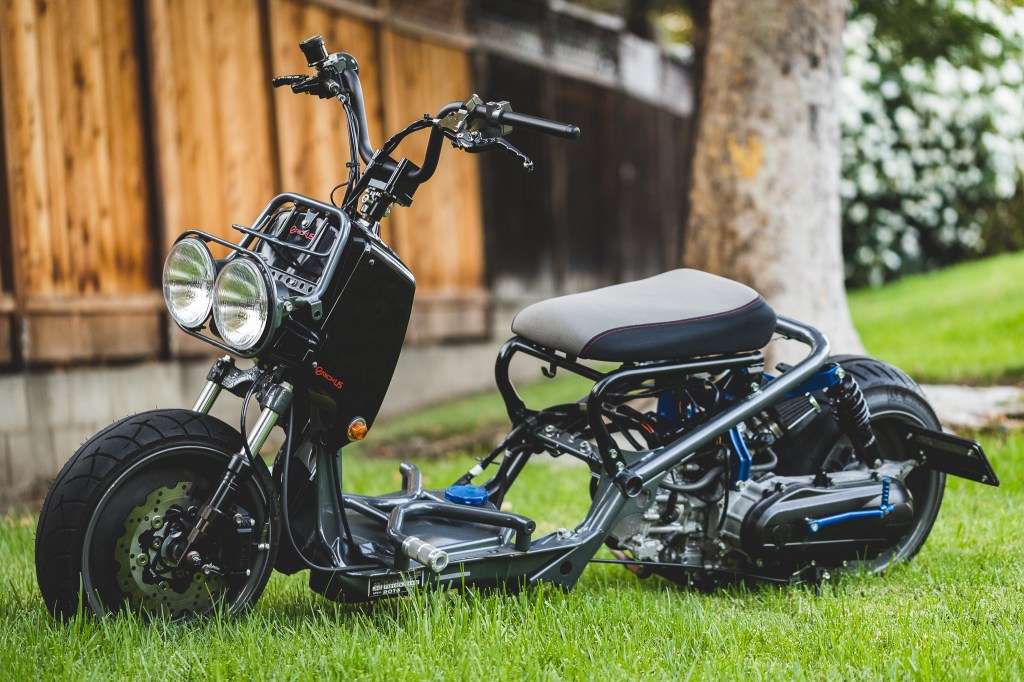
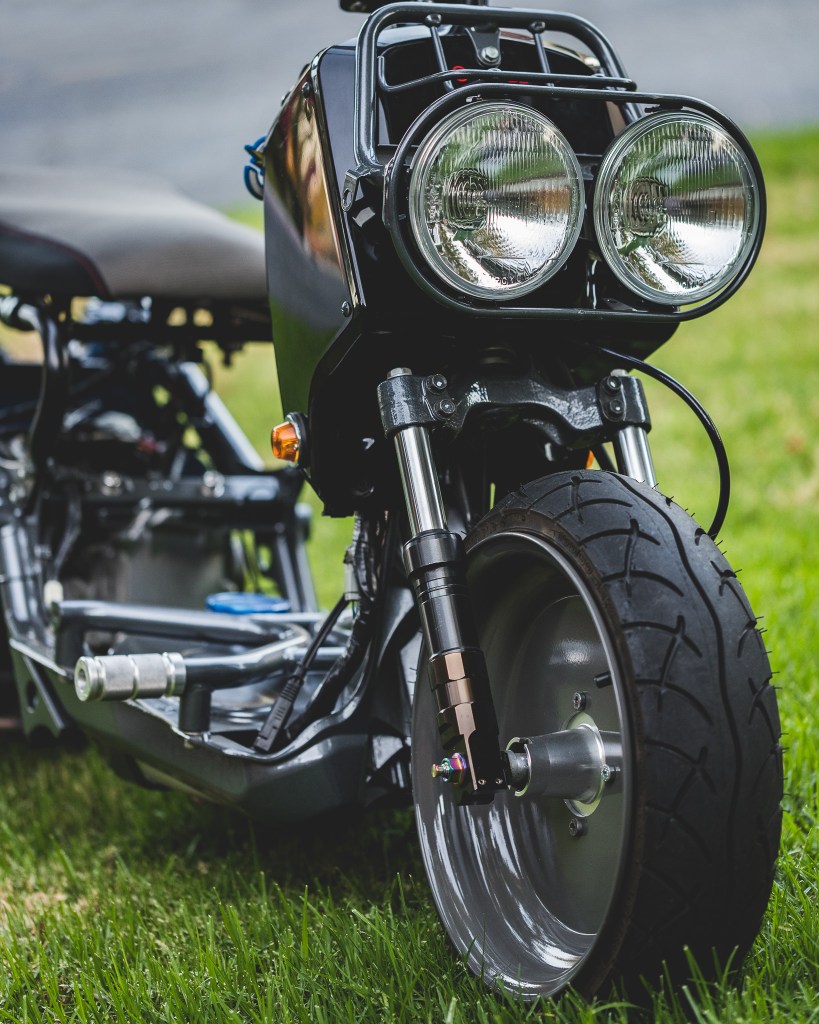
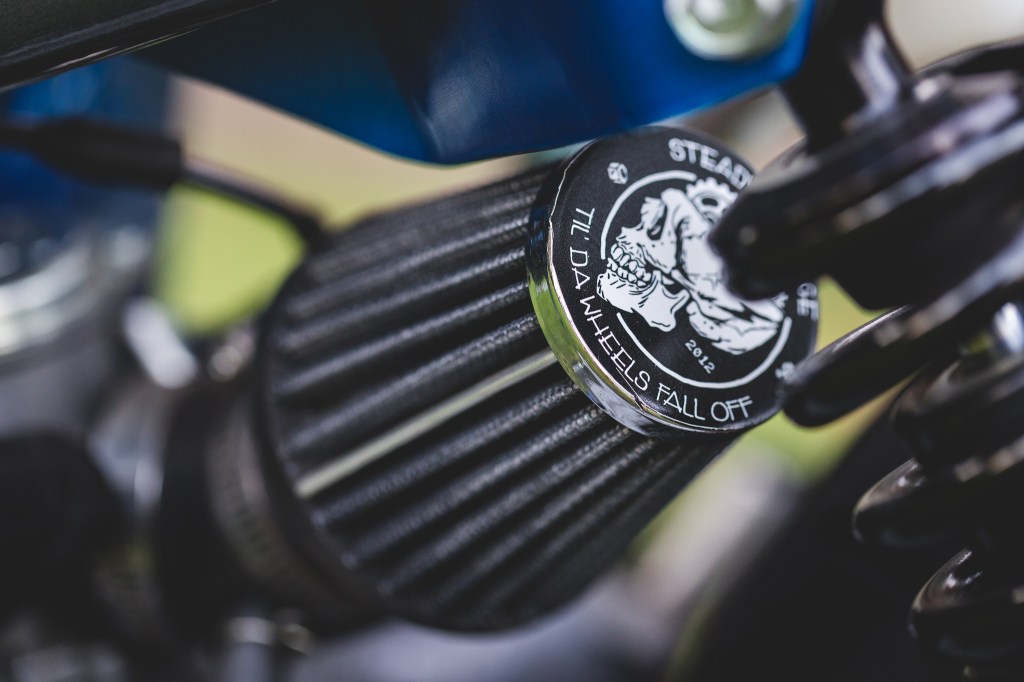
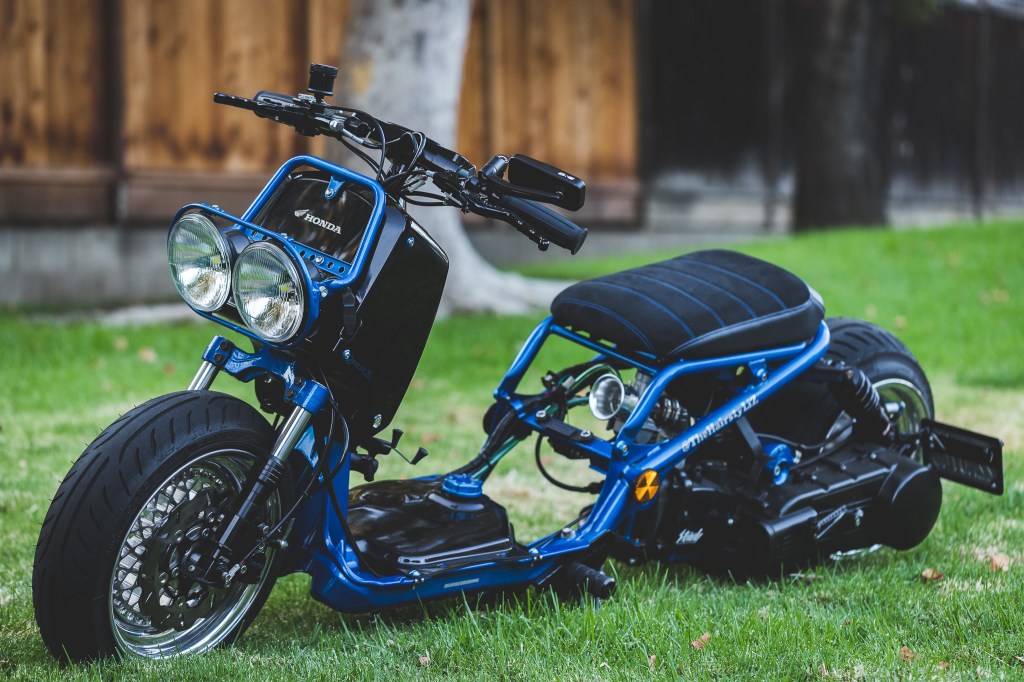
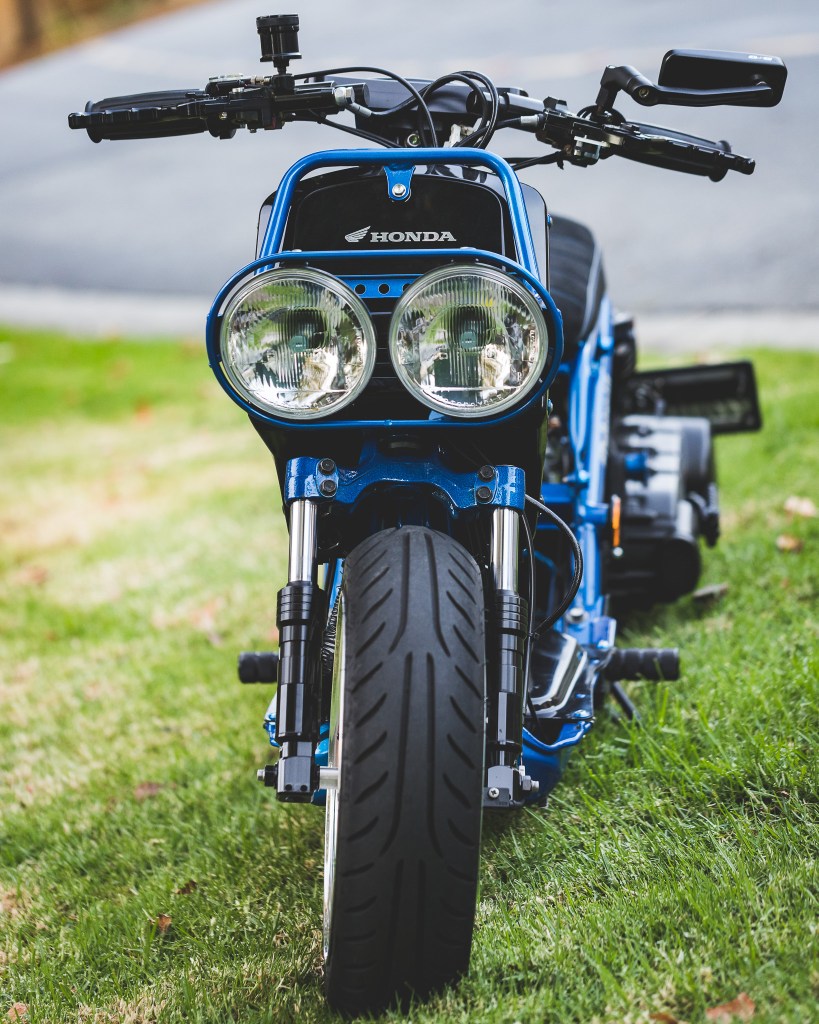
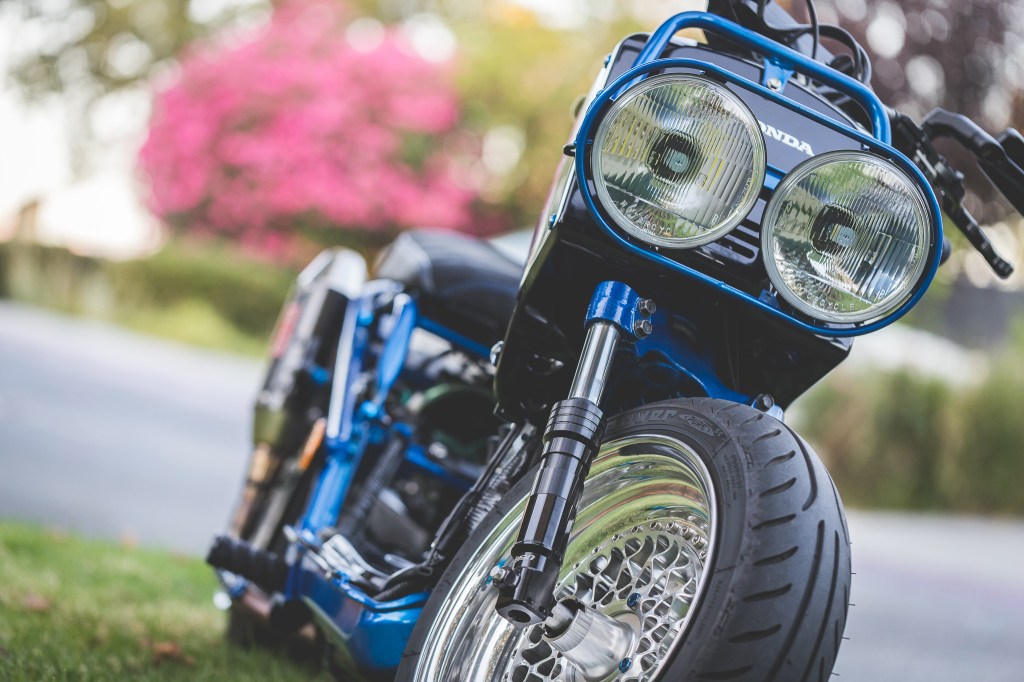
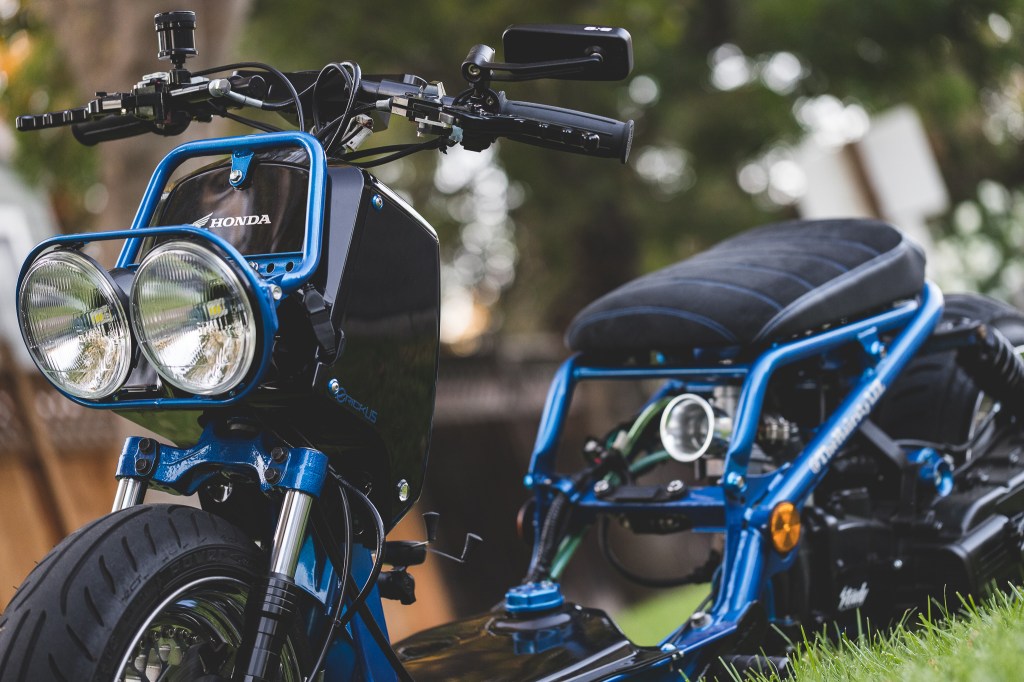
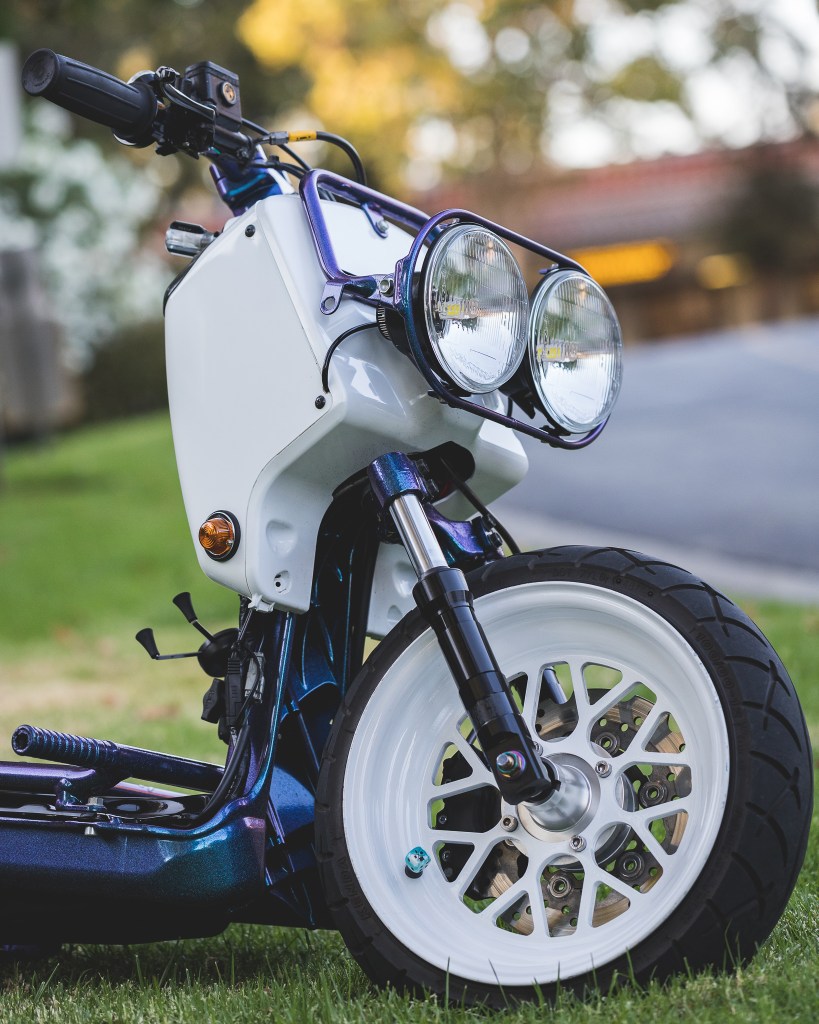
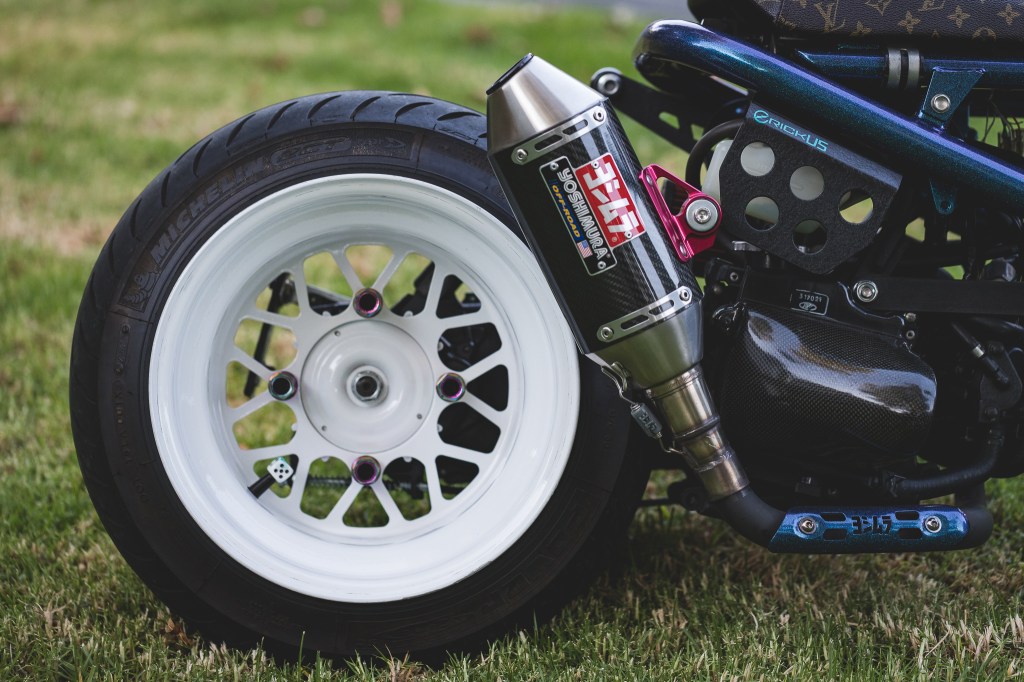
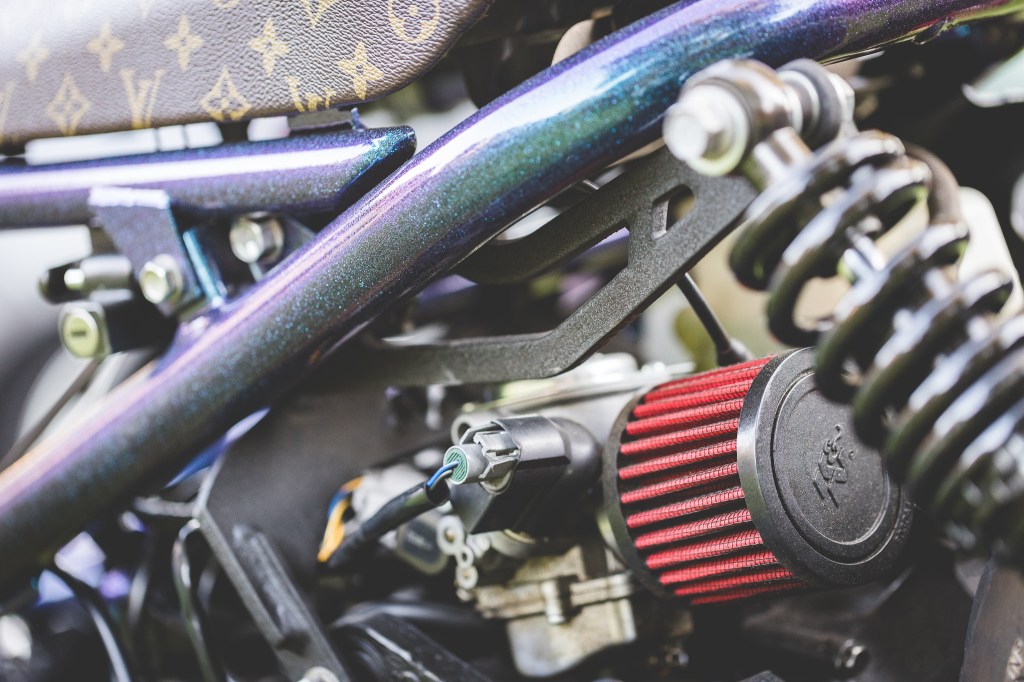
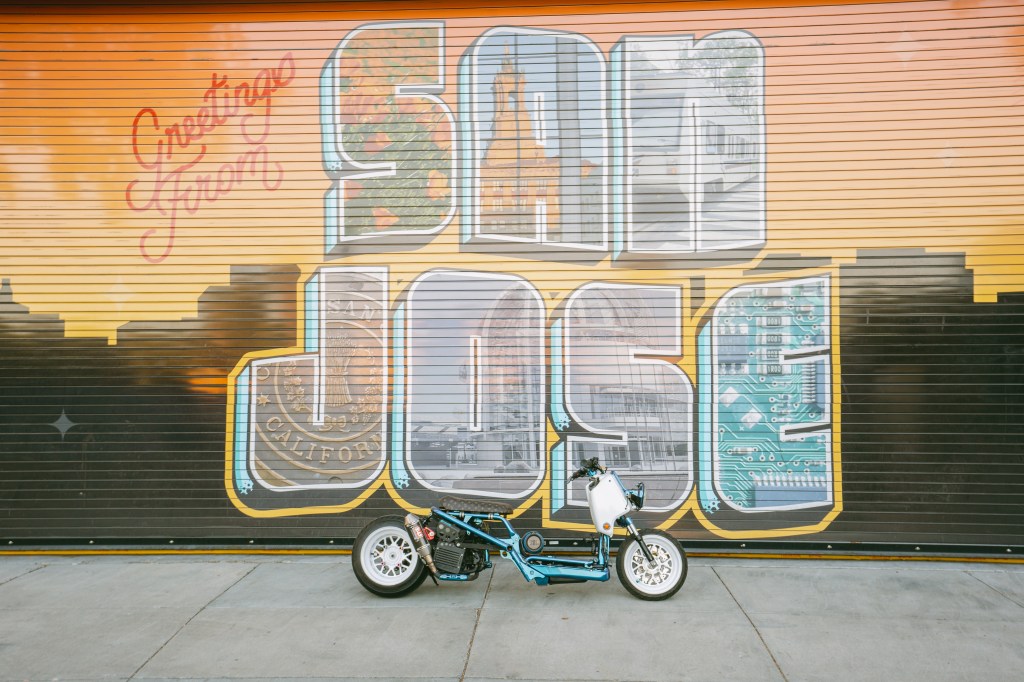
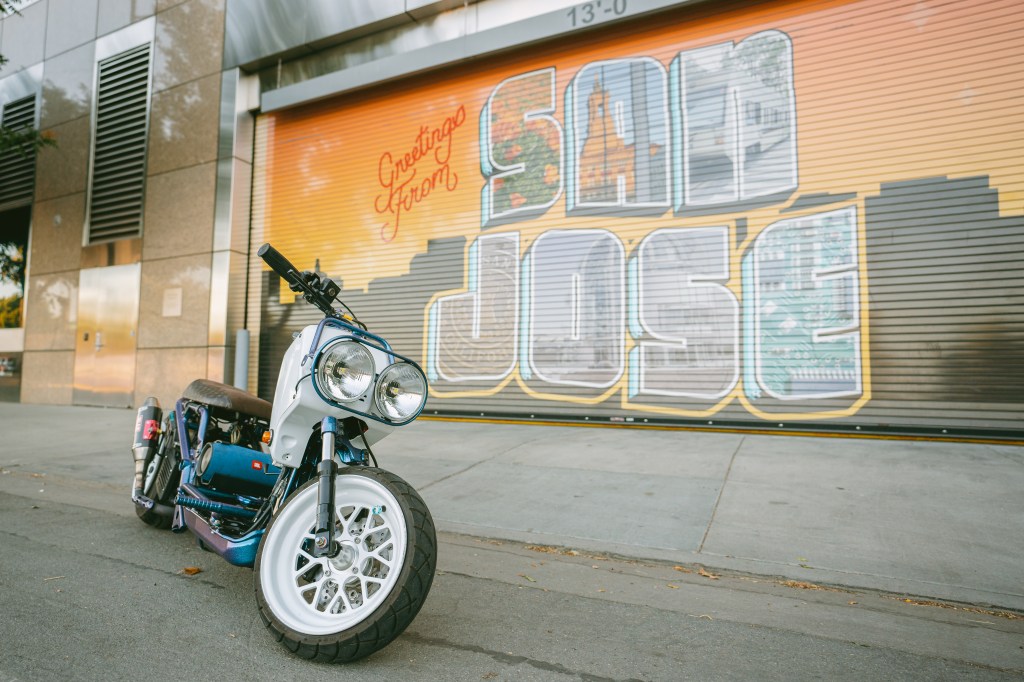
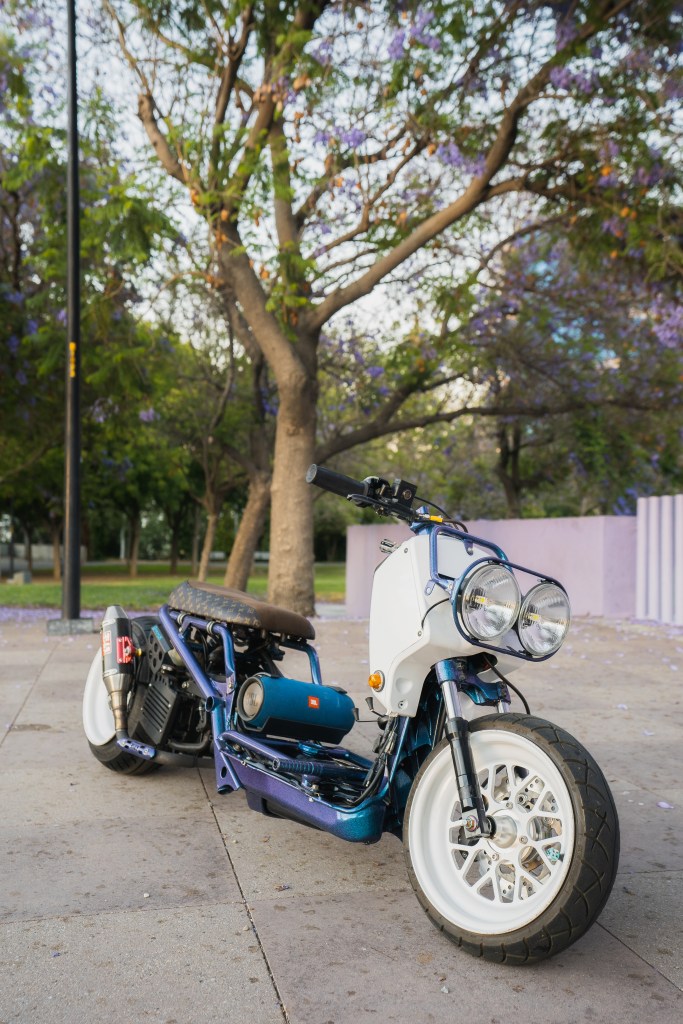
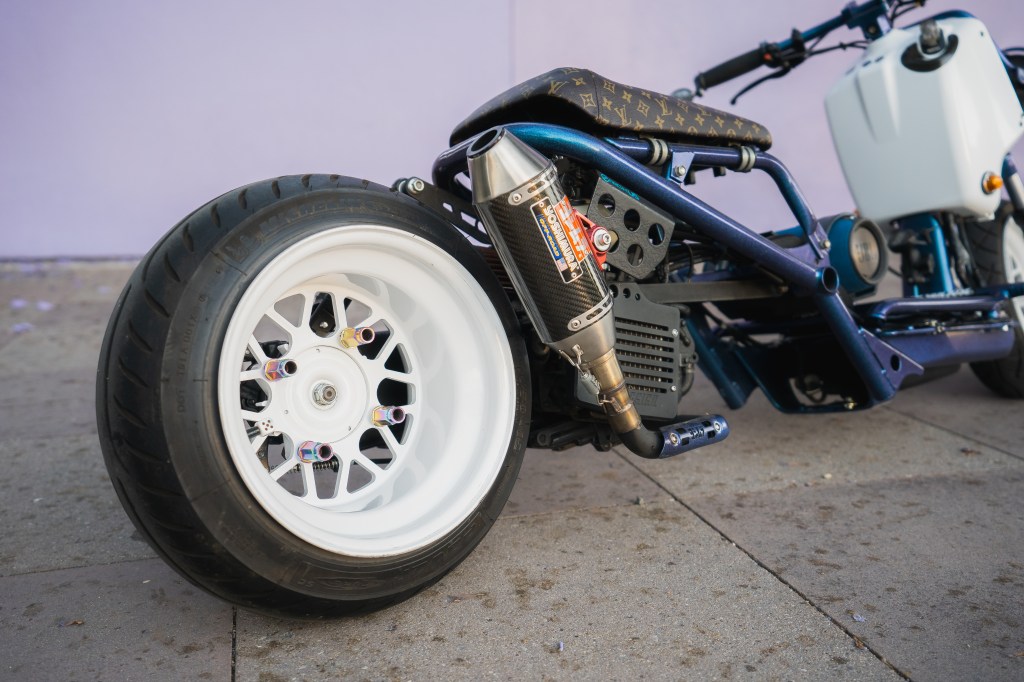
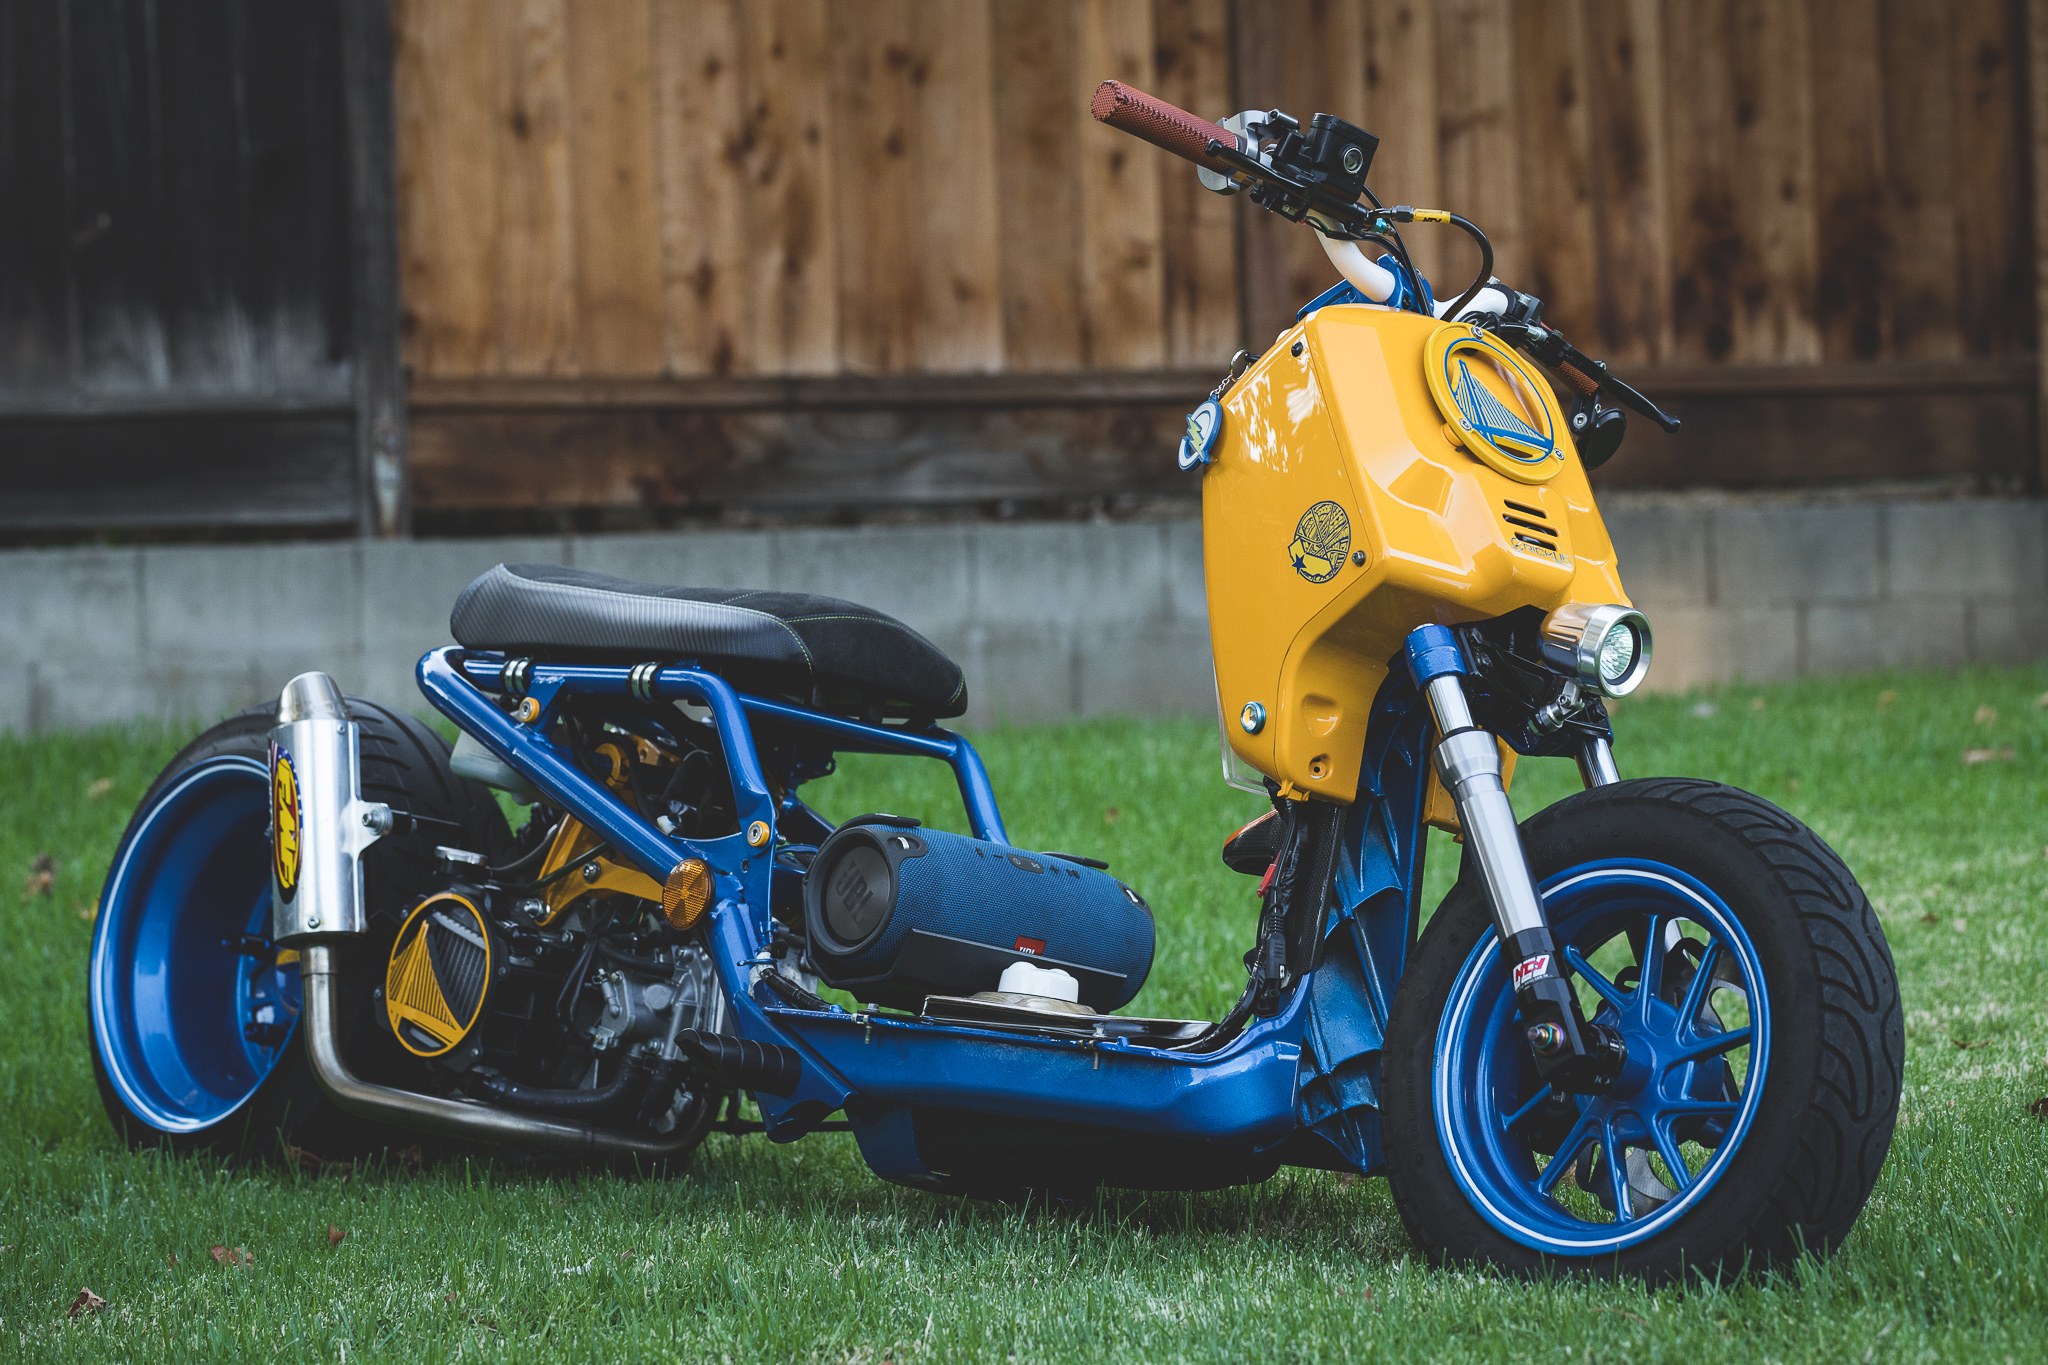
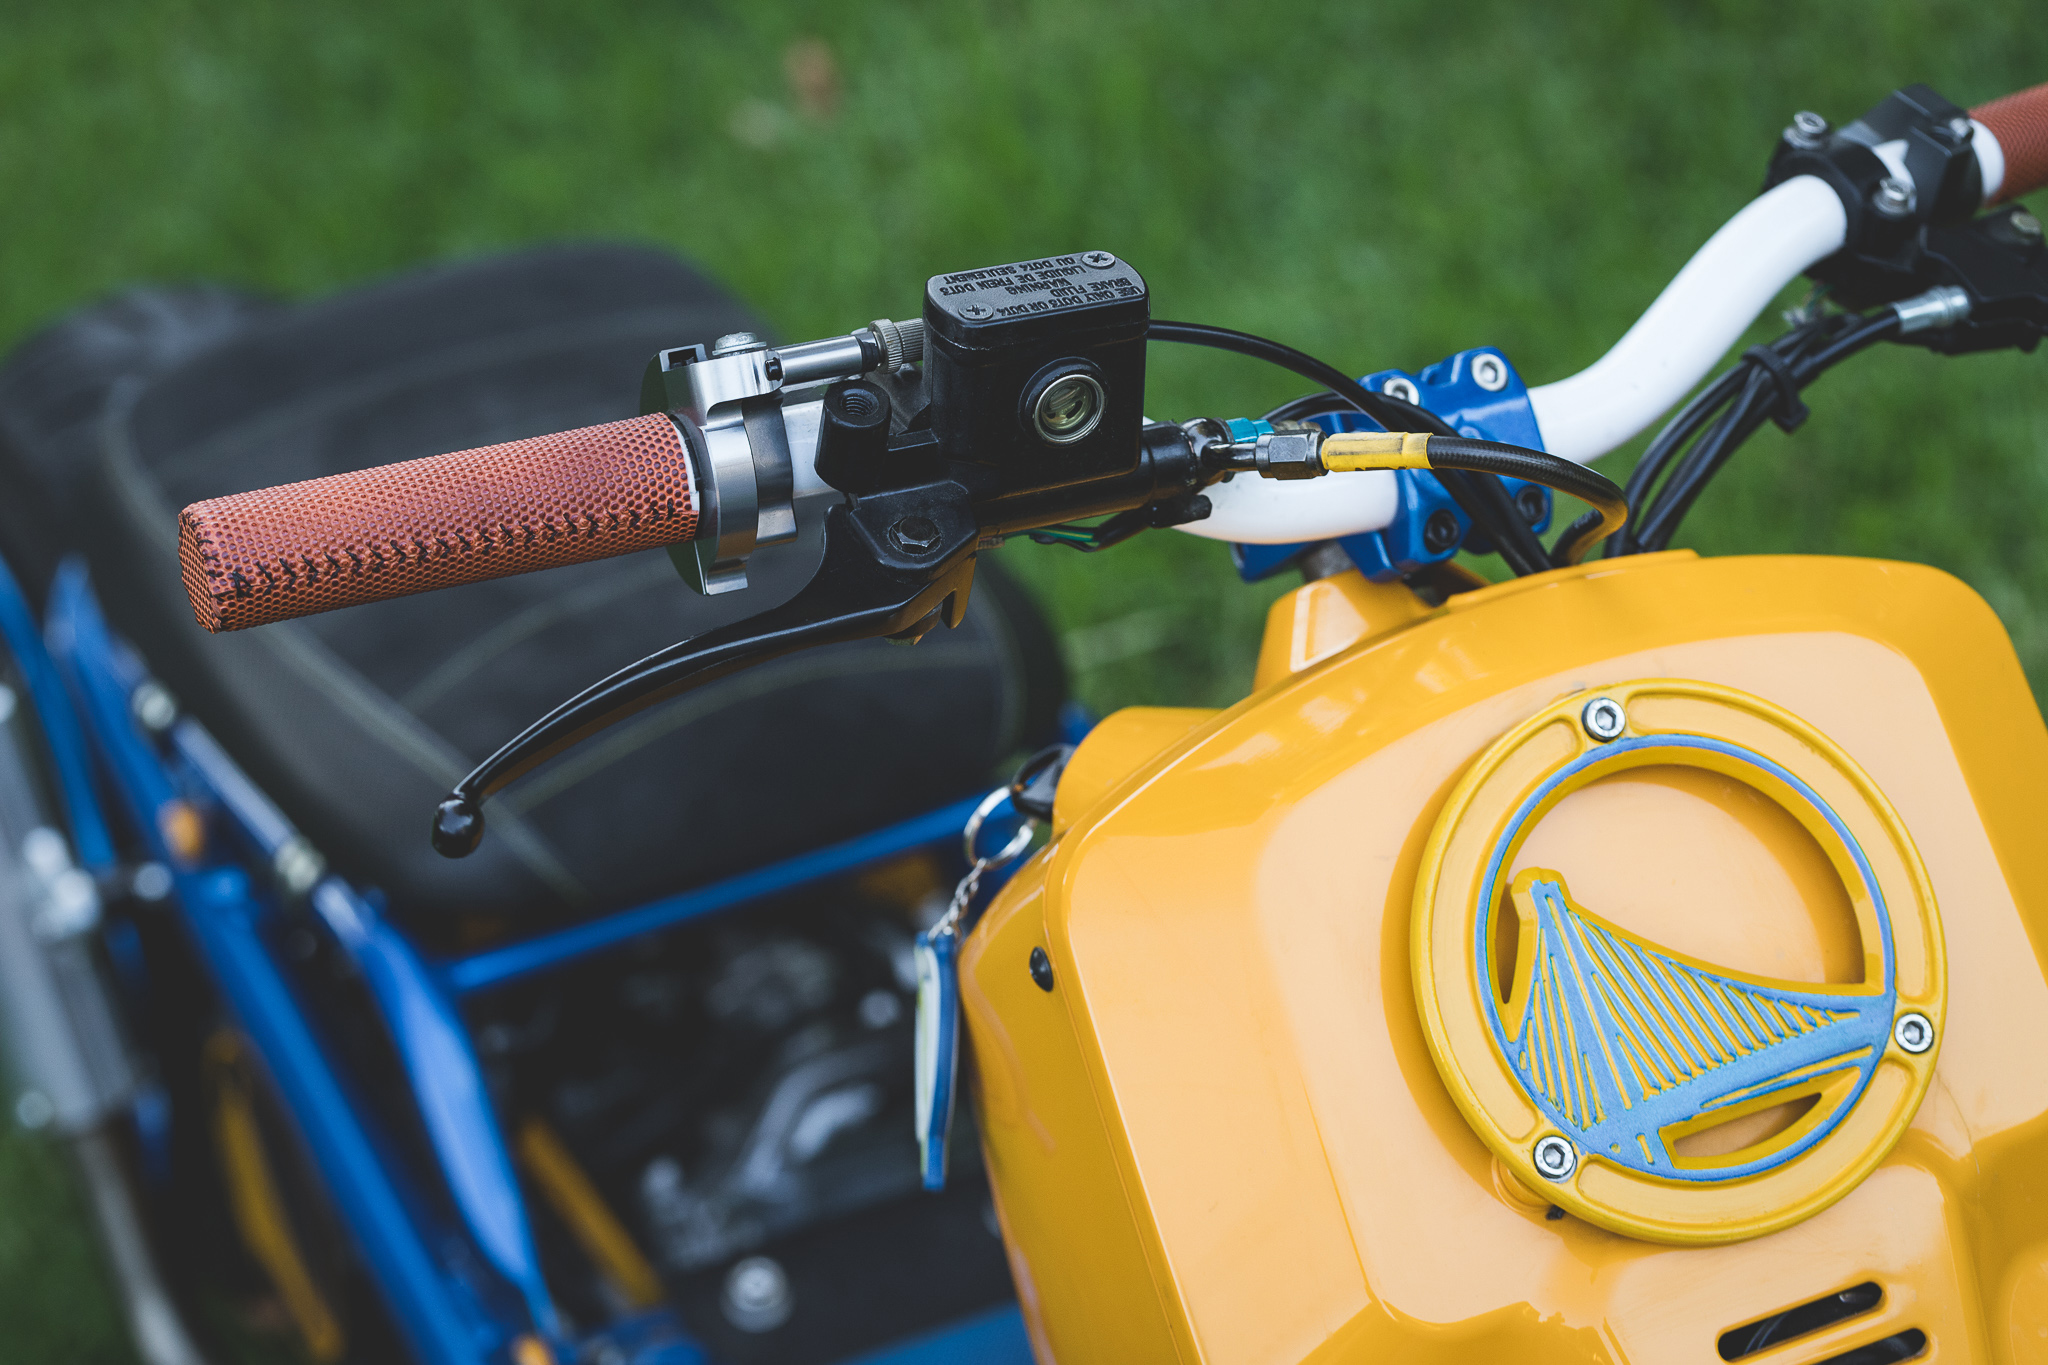
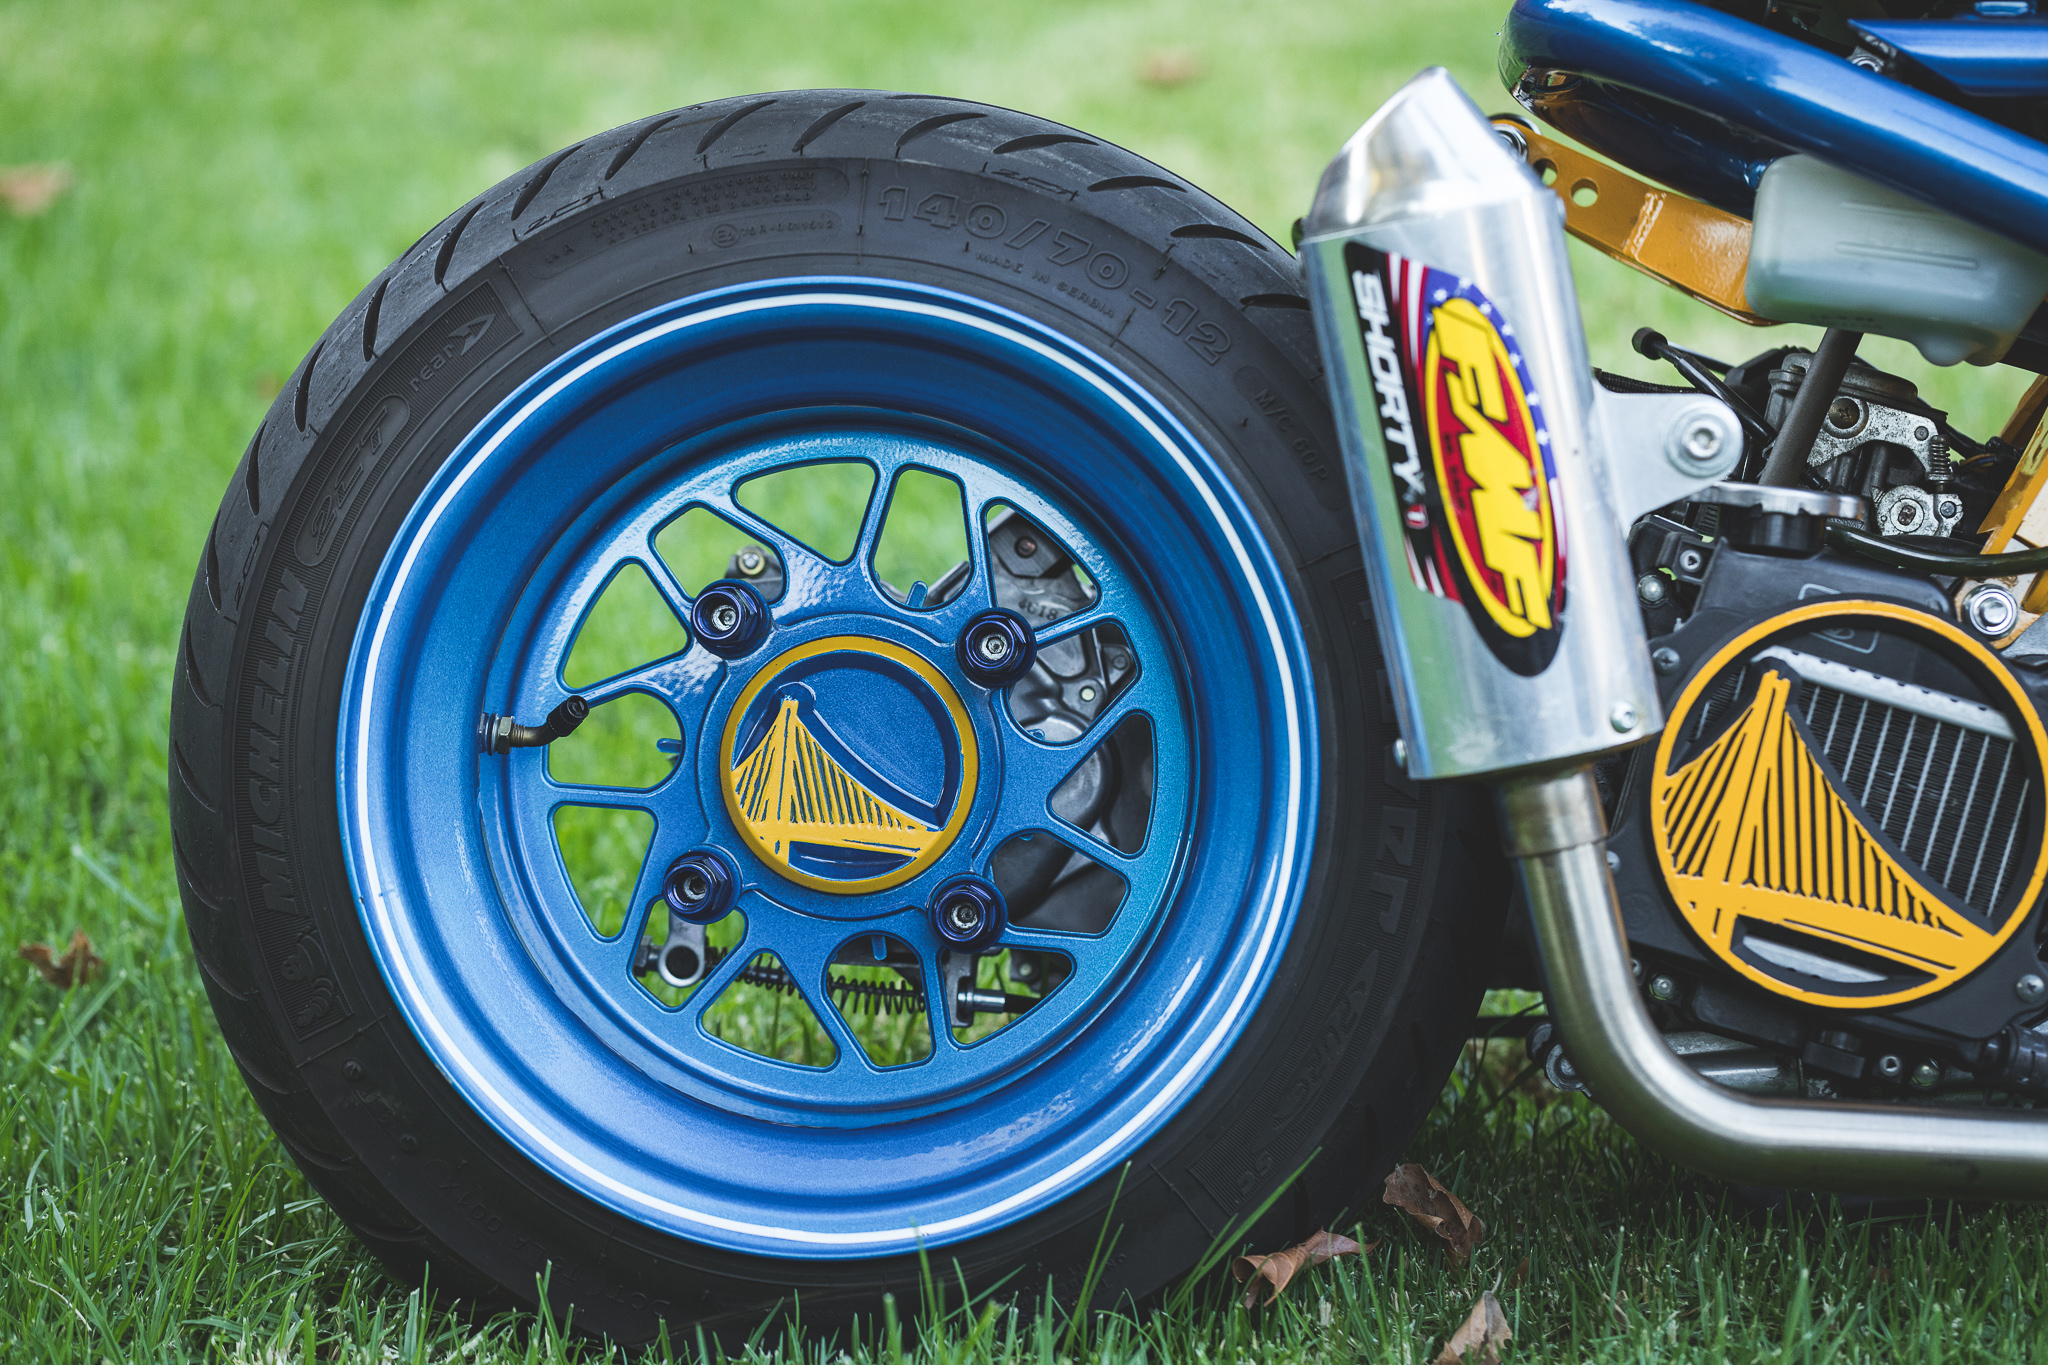
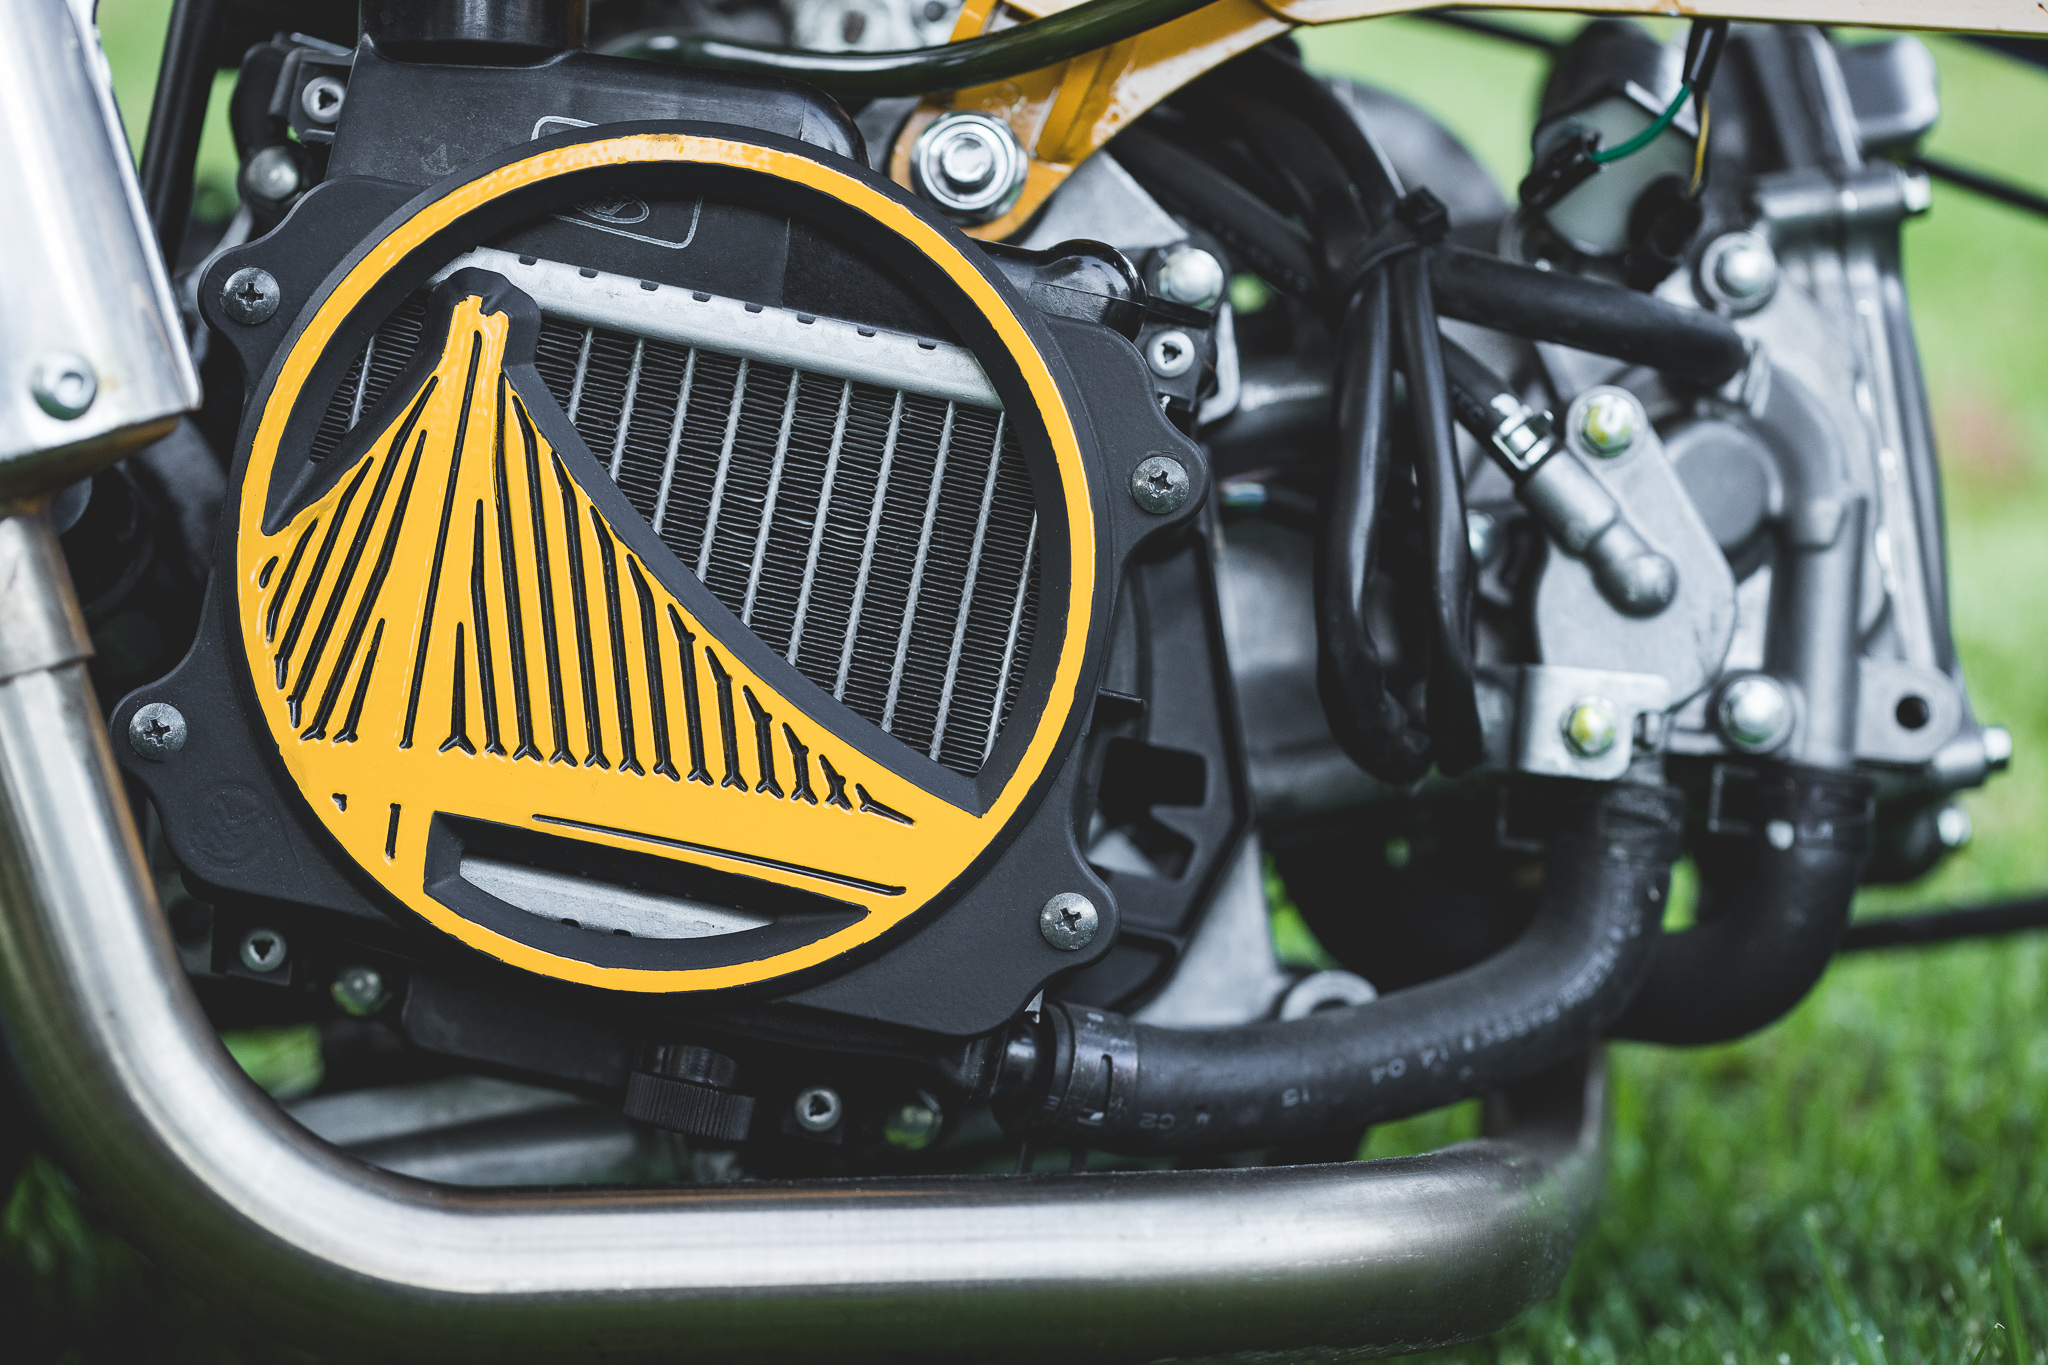
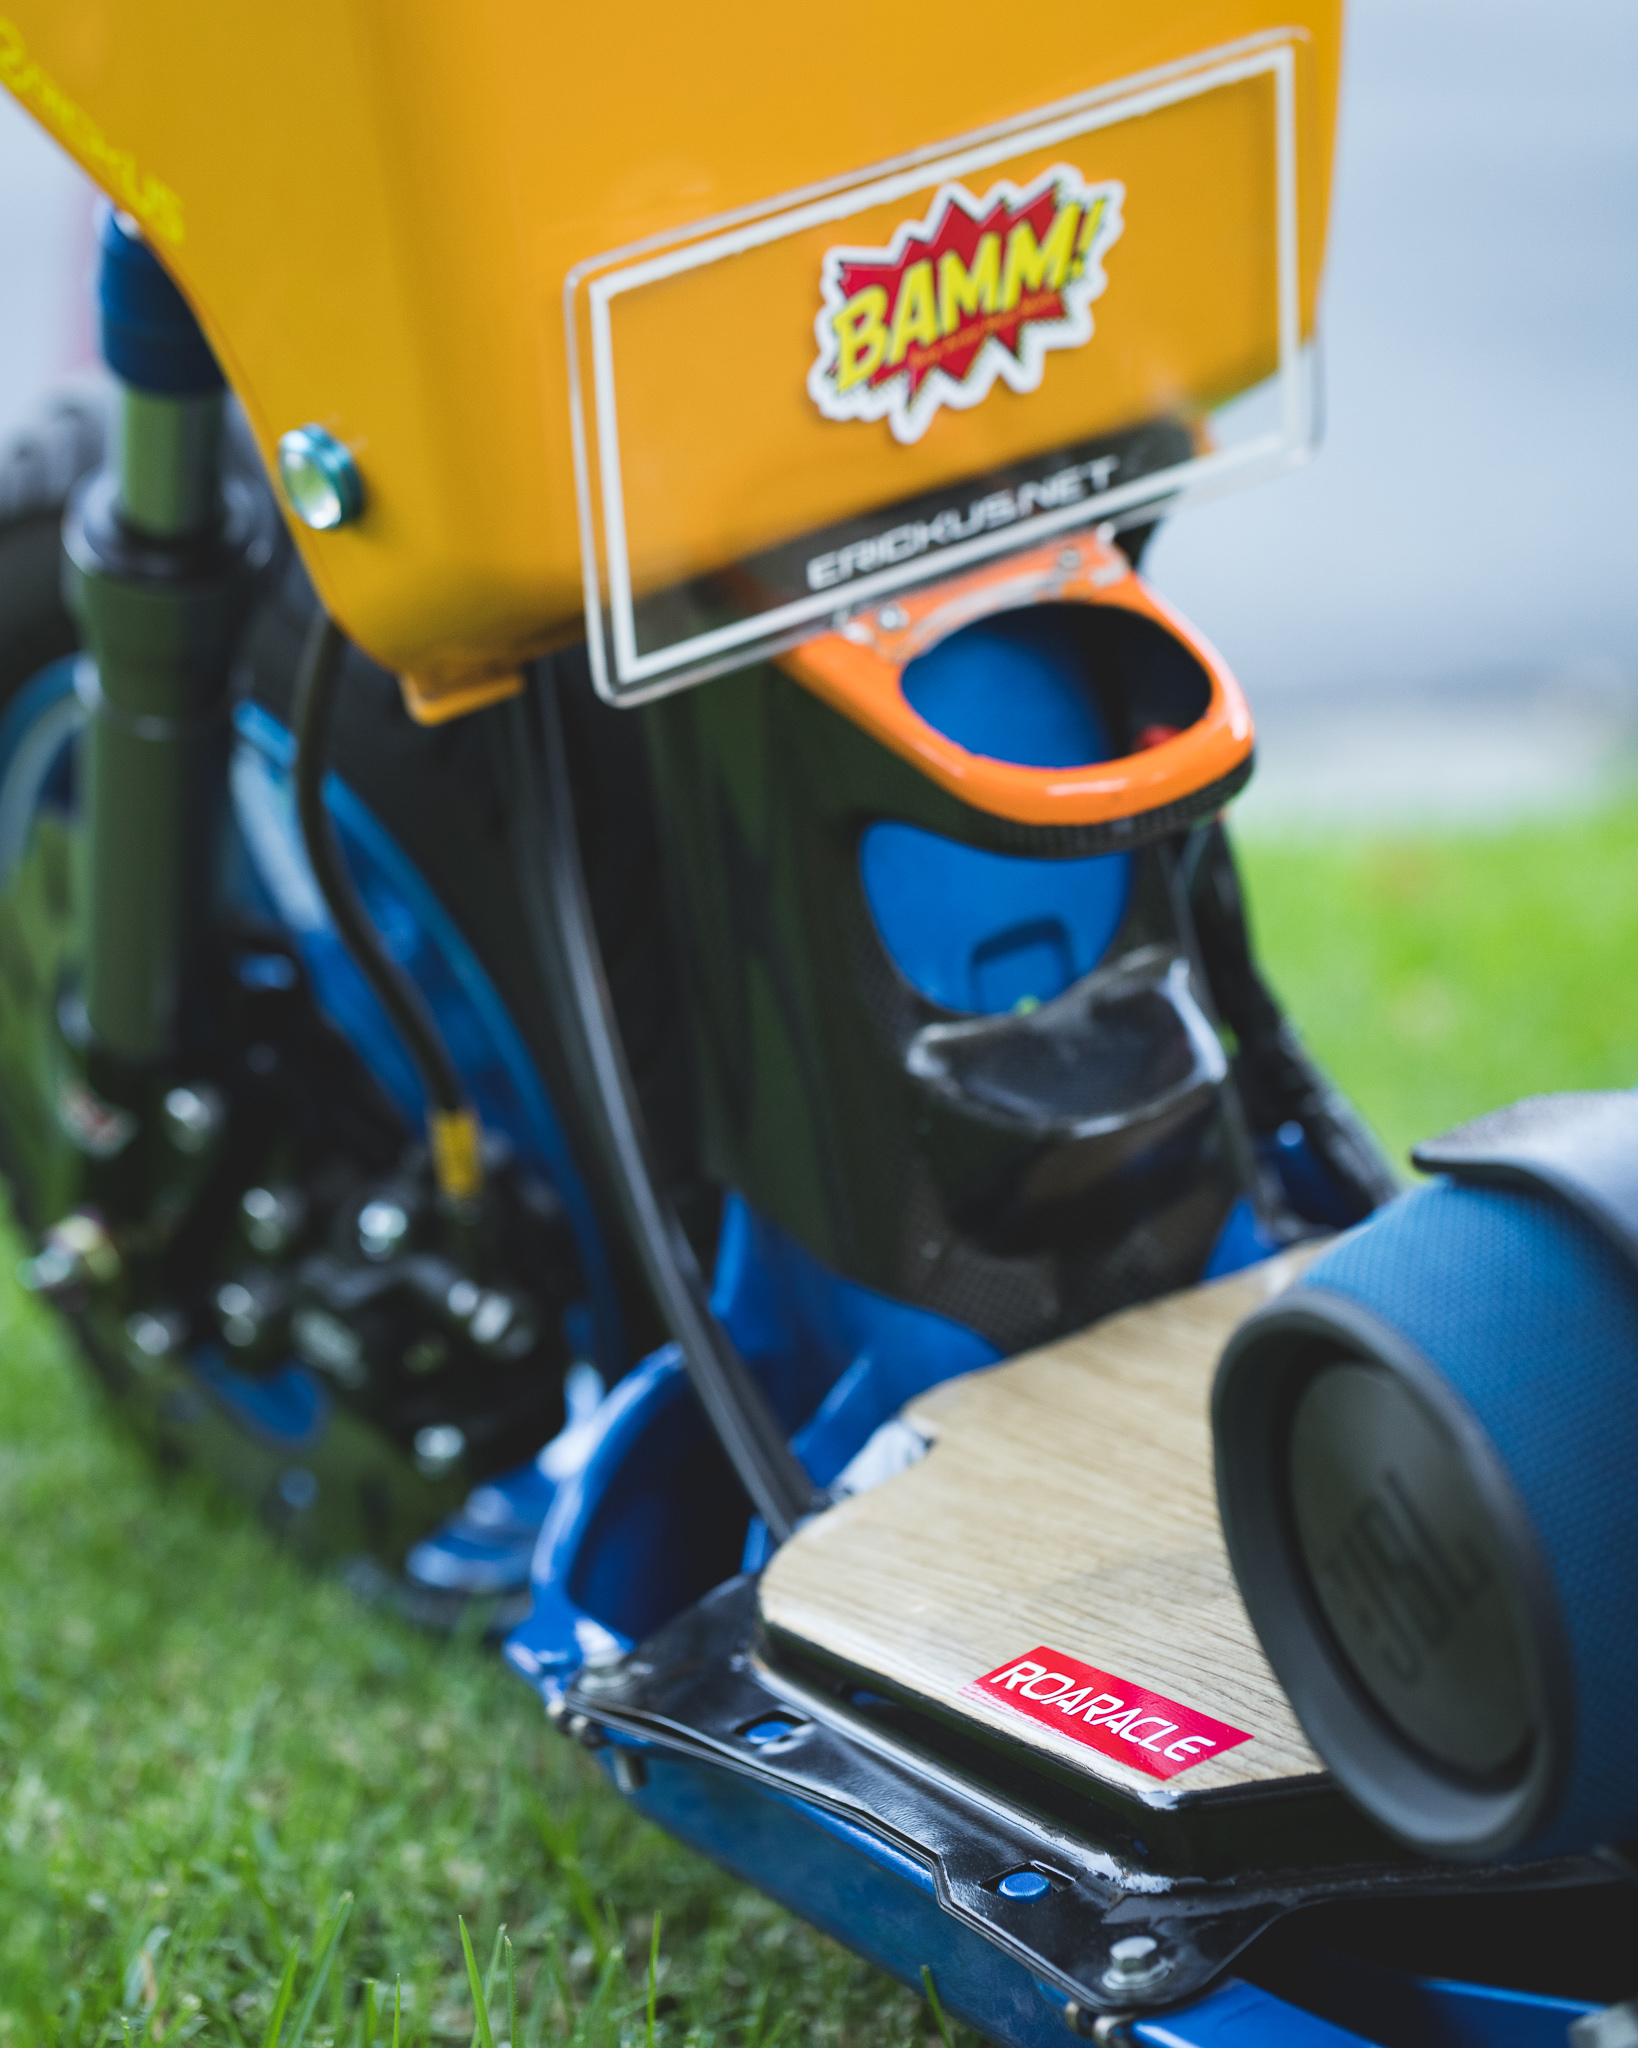
one of our investors picked up this ruckus from my cousin and immediately wanted to redo it. we stripped it down to frame and found the closest powder coat color to the subaru dark grey metallic. once the main and the sub frame was mated together again, we went ahead and reran the wiring towards the back section and tucked it up a little bit more. a lowered front end with disc brakes was installed as well as a low rear shock to achieve that nice squat. the engine stayed stock as we only installed a lighter weight variator and an unlimited cdi. an air filter pod and a carbon fiber exhaust was added. we lowered the seat position but wanted to keep the handle bars high. so instead of using the stock bars. we added a bar clamp stem and used a honda grom handle bar. a set of full solid 12″ wheel set was used and a 2 position foot bar was installed and gave him the option how he wanted to set his legs. the owner had a subaru wrx so we added a little bit of flair to resemble his car. first his engine mount, kick start and keyless gas cap, we powder coated it subaru blue. then we studied the interior of his car and matched it with a black cloth side, storm grey top with red stitching. since the build we have upgraded and added a few things. we continued the blue bits on his new lowered and angled handle bars and we added a honda metropolitan fuel sending unit. that way, the digital speedometer that we used can send him fuel level information. lighting was also touched up by upgrading the headlights to led as well as an integrated tail light. i would like to upgrade his power plant in the future, so we’re going to have to convince his wife about that upgrade.
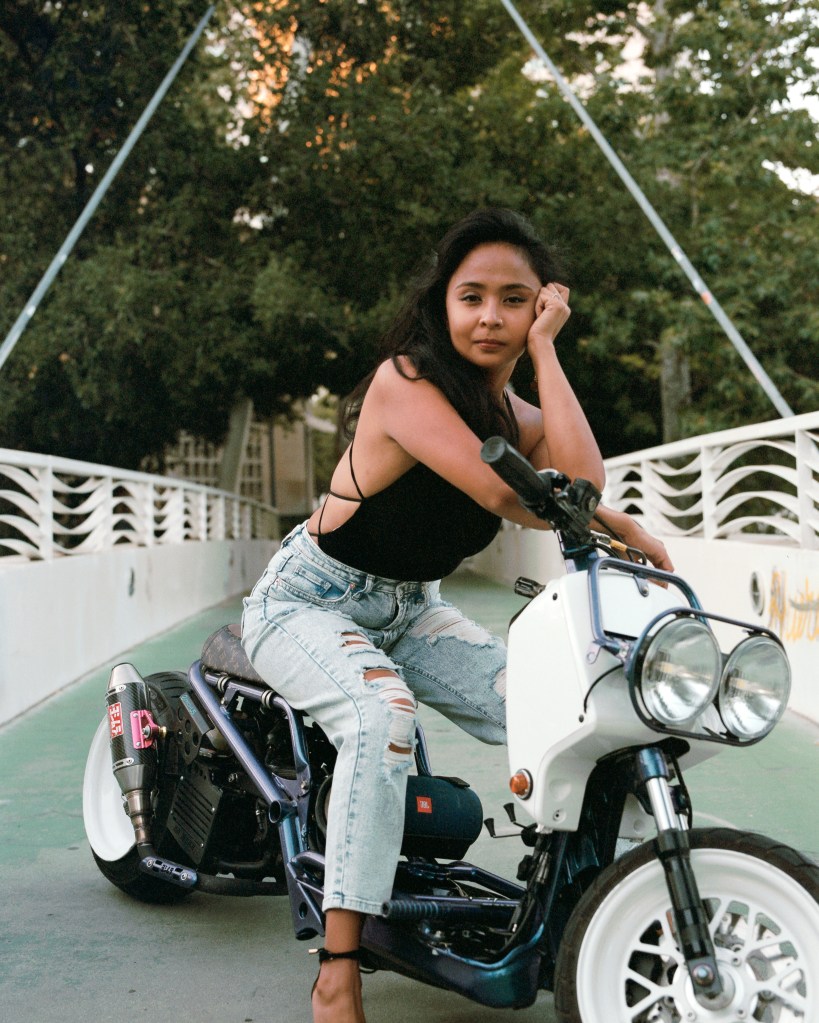
photos by @roybotvision on instagram